Magical Apple Pie
.jpg)
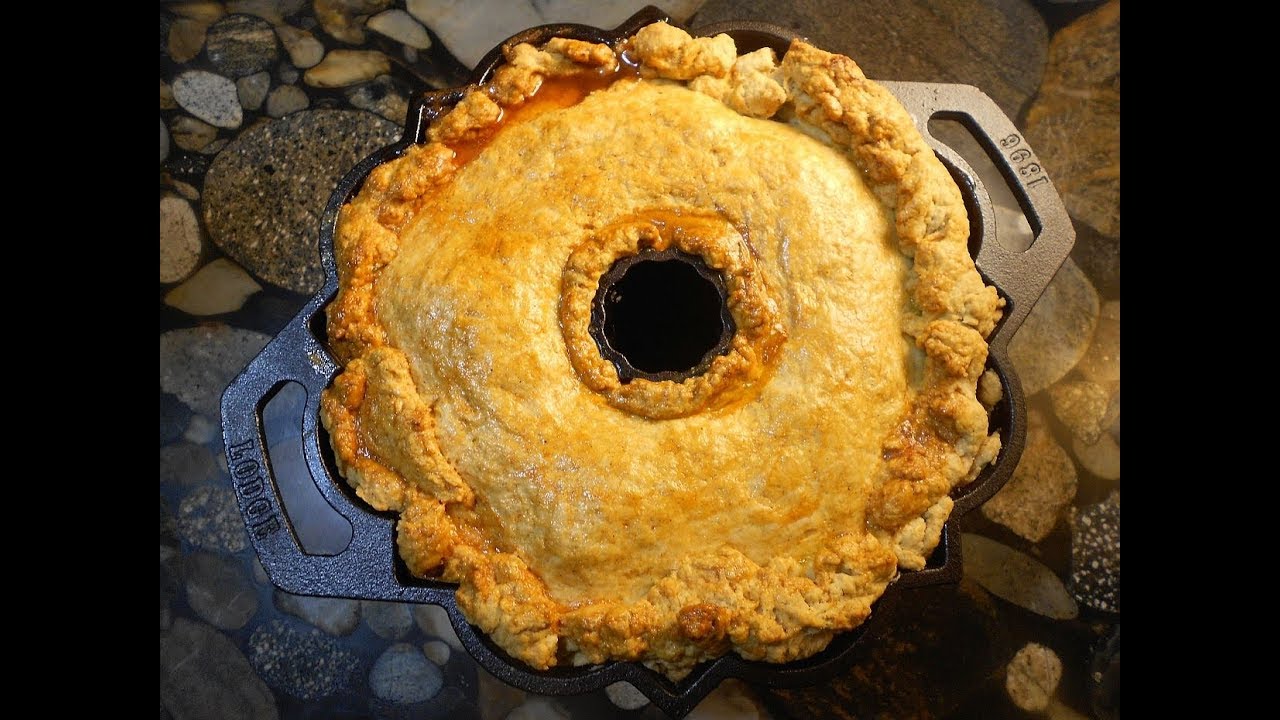
YouTube: Can't-Fail Cast Iron Apple Pie
I made my first apple pie from scratch on Saturday, July 28th, 2012. I was afraid it would be a disaster, because the crust appeared to be too soft…but it was far more successful than I'd hoped for. I based much of it on Alton Brown's "Super Apple Pie" recipe from Good Eats. The pie was wonderful…but…I was re-reading the text of my pie baking pictures and thinking about the leftovers I'd had from the pie fixings – apple butter, a bottle of applejack brandy, caraway seeds (which I'd actually had on hand because they were used when I made Irish soda bread on St. Patrick's Day), and the remaining apples. I started to wonder if there was a way to simplify this process. Alton Brown's statement on Good Eats was that the most popular apple pie method we use, with cinnamon, nutmeg, allspice, cloves, and apples, produces an apple pie that tastes like a pumpkin pie and is usually very runny. His suggestion of draining the excess liquid from the apples was a good one: after all, that was my very first apple pie, and as a beginning cook I was very pleased with the way my apple pie filling turned out. But the exotic ingredients he used in the pie – apple jelly, applejack brandy, grains of paradise (or even caraway seeds), a pie bird – are not the everyday items most people keep in their pantries. Getting these ingredients especially for the pie did make this a special event; but it also meant that this apple pie is not something you can just throw together whenever you feel like it, in the manner of the common "everyday" pie that we usually make.
After doing Web research and looking for more common everyday ingredients, I settled on the following recipe. Lately I've had a lot of success making an apple pie in two parts. Normally you put you just put your apples into the pie shell and bake it all together. The last few times, I've stir fried the apples in a cast-iron pan, added the spices, and cooked it down until it all becomes a thick, viscous, gooey pie filling. This has given a really good pie filling that doesn't have any big empty spaces under the crust, or a lot of liquid. Then, all you do is add your cooked pie filling to the pie shell, cover it, and bake it until the pie shell is done.
Of course you can use a store-bought pie crust with no problem, but I prefer making my own crust because I get to add special ingredients like cardamom to flavor the crust.
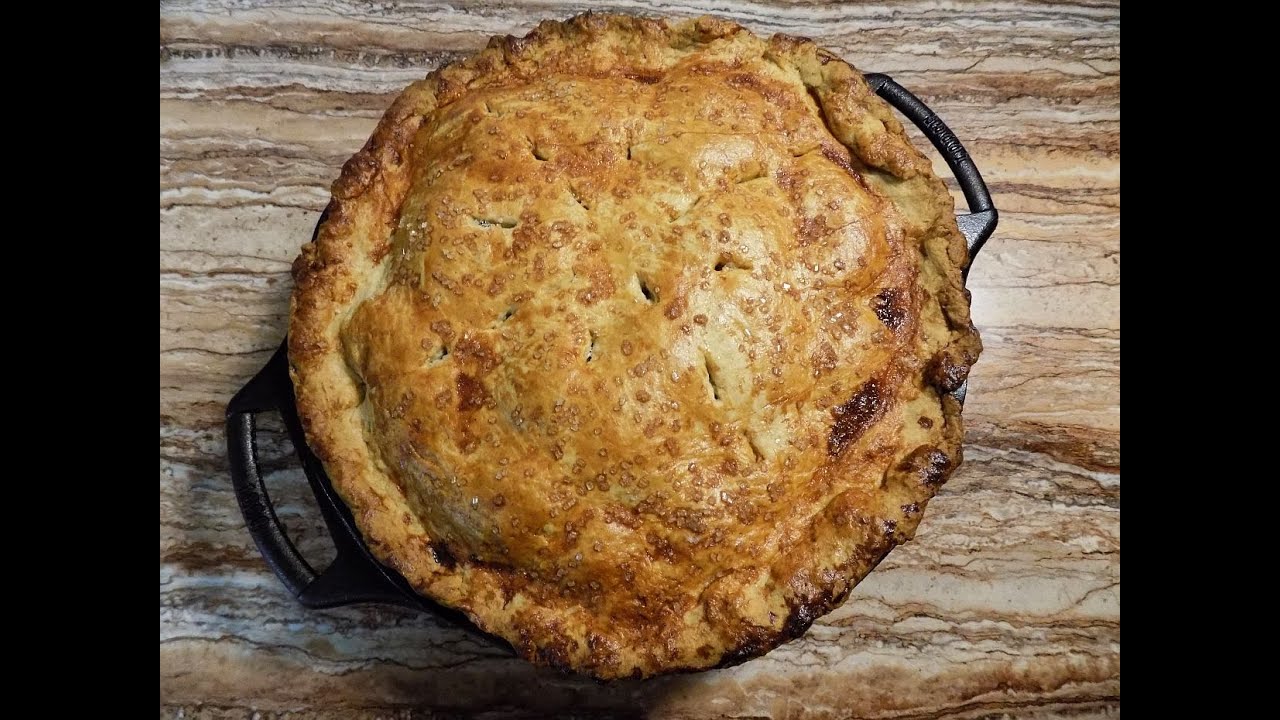
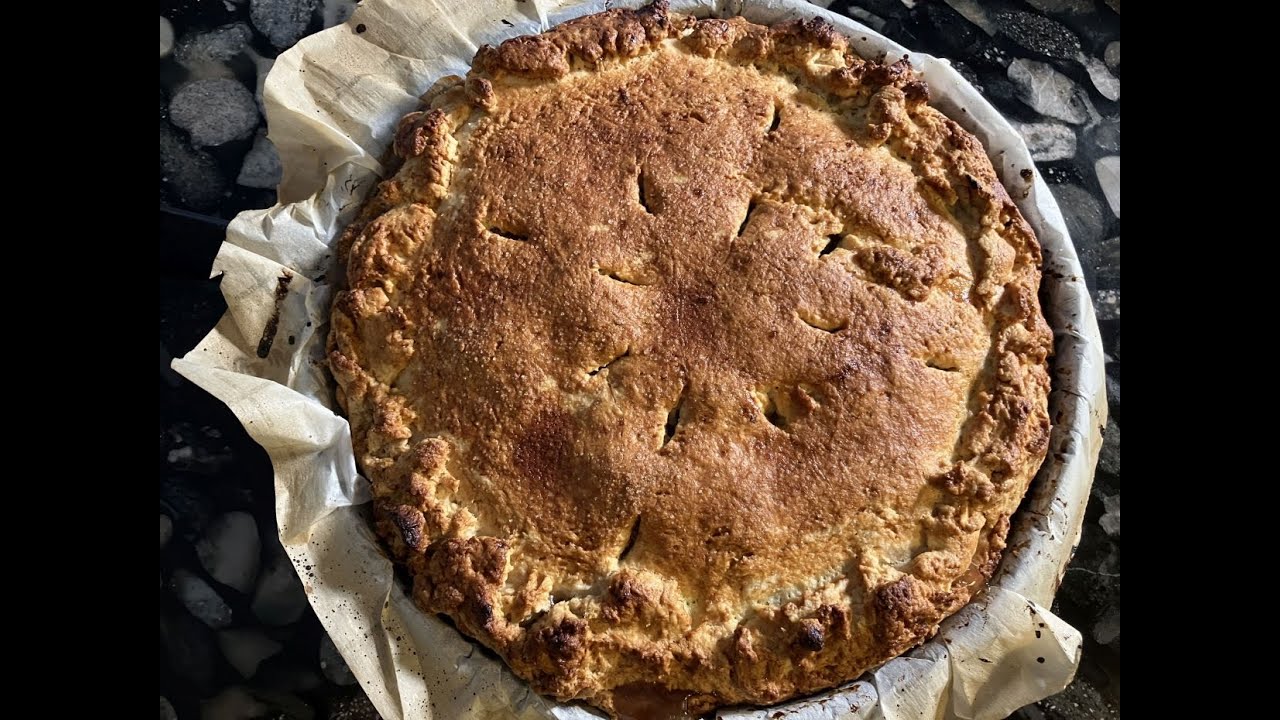
I'm proud of how this pie turned out, especially because it was so easy to make. The crust wasn't burned but still fully baked, and the pie filling had just the right amount of sweetness and a bit of tartness to it. This is indeed something I'd like to ask you to try, and that's why I call it a magical apple pie.
Pans needed: One 9-inch or 10-inch cast iron skillet, large bowl to drain apples. Using cast iron instead of a glass baking dish (or an aluminum pie plate) helps to properly bake the crust, as the cast iron retains heat and cooks the crust more thoroughly than glass or aluminum.

Keep stir frying until the liquid thickens and you have a thick and gooey syrup, instead of runny liquid. Now you know the pie will be good, both inside and out.
(In addition to contributing to the flavor of the pie filling, the vinegar will react with the baking powder in the crust mix, causing it to expand and thicken.)
Take out the second pie crust from the refrigerator. Place the crust dough between two sheets of wax paper. Use a rolling pin over the wax paper to roll out the dough, into a sheet large enough to fit over the pie plate.
Remove the top sheet of wax paper. Lift the bottom sheet with the dough, turn it over and place the dough over the top of the apples, so that it settles over the top of your pie. Carefully peel off the sheet of wax paper, leaving the top of the pie covered with dough. Use your fingers to tuck in any dough that overlaps the edge of the pan. Open up the crust to allow steam to escape, by either cutting slits in the crust or poking at it with a fork to leave a design in the crust.
One advantage to pre-cooking the pie filling is you only need to bake the pie until it's done. This includes whether you use a full pie crust on top, or a lattice pie crust.
Egg Wash (not mandatory, but you can make one if you want):
- 1 egg
- The reserved apple juice
- (Optional) Crystal baker's sugar or granulated sugar
Add the reserved apple juice and an egg to a bowl, and stir it together. Use a basting brush to brush the egg wash over the top of the crust, to let it soak in. Finally, sprinkle the pie with granulated sugar, or crystal baking sugar.
Place the pie in the oven, and bake it at 375 degrees Fahrenheit for 45 minutes. The cast iron helps bake the crust, so 45 minutes will be all you need. Note: If you take the time to do a lattice pie crust, it will be necessary to cover the pie top with a sheet of foil before placing it into the oven. The apples need to be steamed in order for them to soften as they bake. Bake the pie for 25 minutes with the foil cover, then remove the cover and bake an additional 20 minutes to brown the crust. (A lattice pie exposes a lot of the apples to the direct heat of the oven, and it can cause them to dry out. Covering the pie with foil helps to keep in moisture and steam the apples. With a full crust top pie, it's not necessary to cover the pie with foil.)
Remove the pie from the oven. At this point the torture begins! It is absolutely necessary to let the pie sit and settle for three hours before cutting it open! The long wait allows the pie to gradually settle and the filling to congeal. You'll find the underside of the cast iron skillet remains very warm to the touch for a long time, far longer than it would be with a glass or aluminum pie plate.
After waiting so long, you will see why this is called a "magical" apple pie. Where is the magic? See the faces and bask in the satisfaction and delight of the people – especially the children – who will enjoy your pie. There is the magic.