Sandwich Bread
In advance, soften 1/4 cup of butter (4 tablespoons or 1/2 stick) to room temperature.
Based on experience -- especially with making pizza dough -- I've learned it is very important to measure the flour! In order for the bread to be the right consistency, use a scale and be sure to sift the flour. This will prevent it from clumping and "aerate" it, to make it easier to rise. In this recipe we use 425 grams of bread flour. Sift the flour into a large bowl, so it can be added to the other ingredients in a few minutes.
The other important step is to use lukewarm liquid, not too hot and not too cold. Heat up 1 cup of water (regular tap water is fine) to between 90° and 110° Fahrenheit. After this, heat 1/4 cup of whole milk to the same lukewarm temperature. Add the warm water and warm milk to the bowl of your mixer. Into this, add 2 1/4 teaspoons yeast (or one packet) and 2 tablespoons of sugar. Mix them together, and let stand for about five to ten minutes to bloom the yeast.
Mount the mixing bowl onto your mixer and use the dough hook attachment. A standard paddle attachment will also work. Add the softened butter and 1 1/2 teaspoons salt. into the yeast mixture, and start the mixer at medium speed, or a fraction under medium if your mixer has a setting like that. At this point add 1 1/2 teaspoons salt. This is as high as we need to go; it's not necessary to bring the mixer up to high speed.
Add about 1/3 of the flour to the bowl and mix it for about a minute. Scrape the sides to get all of the flour into the mix, and do this two more times: add another 1/3 of the flour and mix it, then add the rest of the flour. From here, let the mixer run for about 7 to 8 minutes to mix it into a solid bread dough.
While the mixer is running, take the bowl that had originally held the sifted flour, and lightly grease it with olive oil so the entire inside has a thin coating of oil. After the dough has mixed and kneaded for 8 minutes, use a spatula and scrape all of the dough into the oiled bowl. Cover the dough with a lid, or plastic wrap, and let it sit on your counter for an hour. If you are doing a slow rising dough, after an hour transfer the bowl into the refrigerator (still with the cover on) and let it slowly rise in the refrigerator overnight, or at least eight hours. A long, slow rise will give the bread a better texture and a better taste.
If you are doing a quick rise, place the covered bowl in a warm spot, such as in the oven with the oven light on, and let it rise for an additional one hour.
Whether you're doing a fast rise or a slow rise, when the time has passed, remove the covered bowl from its resting place. Grease your loaf pan (such as a cast iron loaf pan) with a thin layer of oil or shortening.
Uncover the bowl and punch down the dough. Turn the dough out onto a floured work space. Use a rolling pin to flatten the dough, and shape the flattened dough until it becomes a rectangular layer with the short side equal in length, or slightly smaller, to your bread pan. Roll this length of dough into a cylindrical shape, and tuck the ends under.
Place the rolled up length of dough into the greased loaf pan. Cover the pan loosely, not tight, with foil or wax paper. Place the covered pan into a warm place, again, and let the dough rise a second time. If the dough was chilled in the refrigerator, it may take two and a half to three hours to rise; if the dough is warm, it may take about an hour to rise. The dough will fill the entire loaf pan and rise to about an inch over the top.
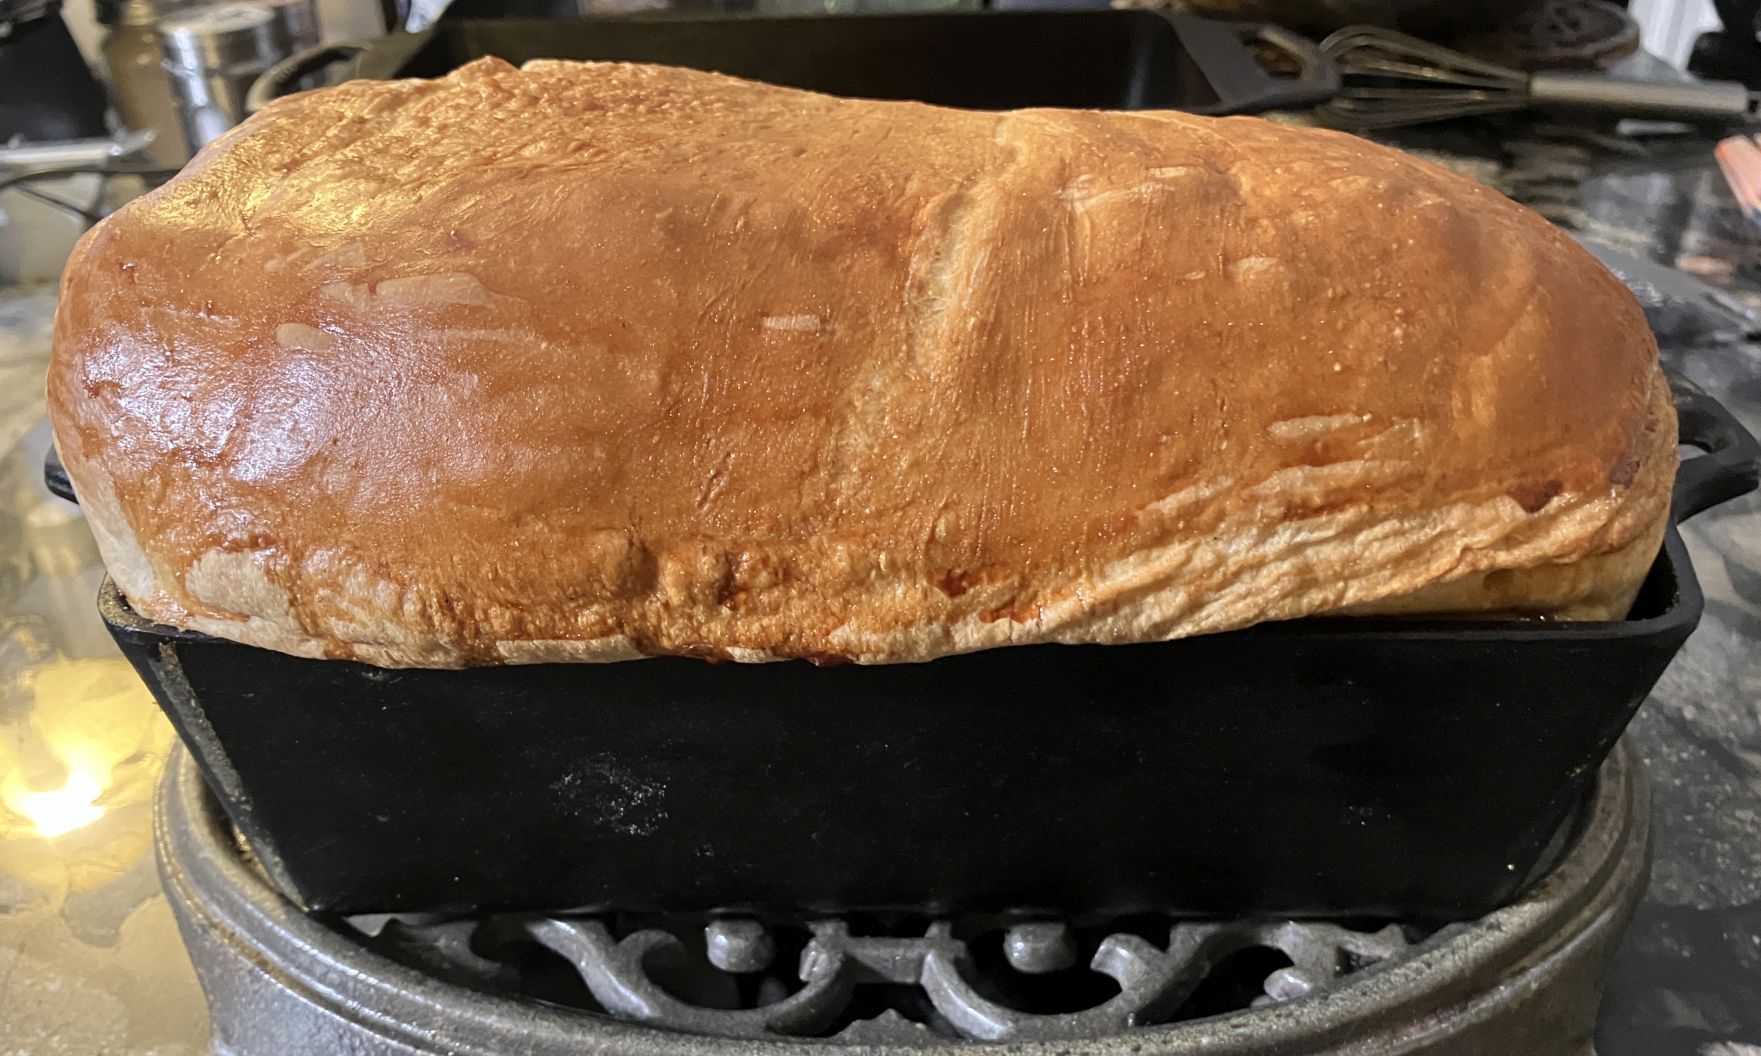
Preheat the oven to 350° Fahrenheit. Prepare an egg wash by cracking an egg into a small bowl and mixing it all together. Remove the cover from the dough. Use a basting brush, brush the egg wash over the surface of the top of the bread. Place the bread into the oven and bake for 25 30 minutes at 350 degrees Fahrenheit.
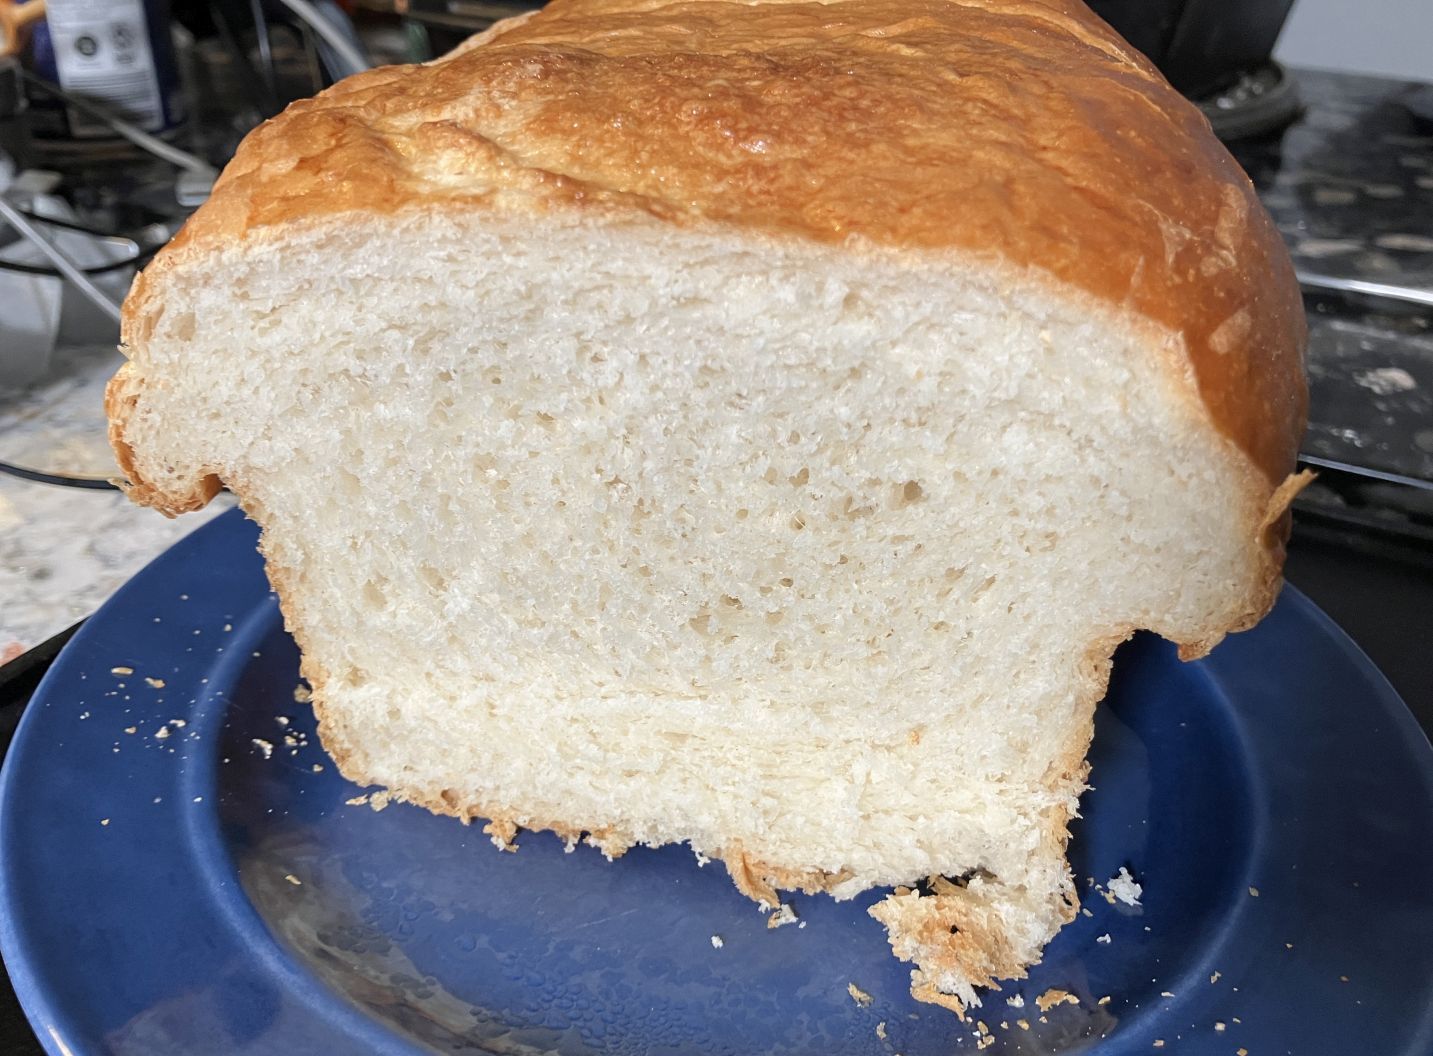
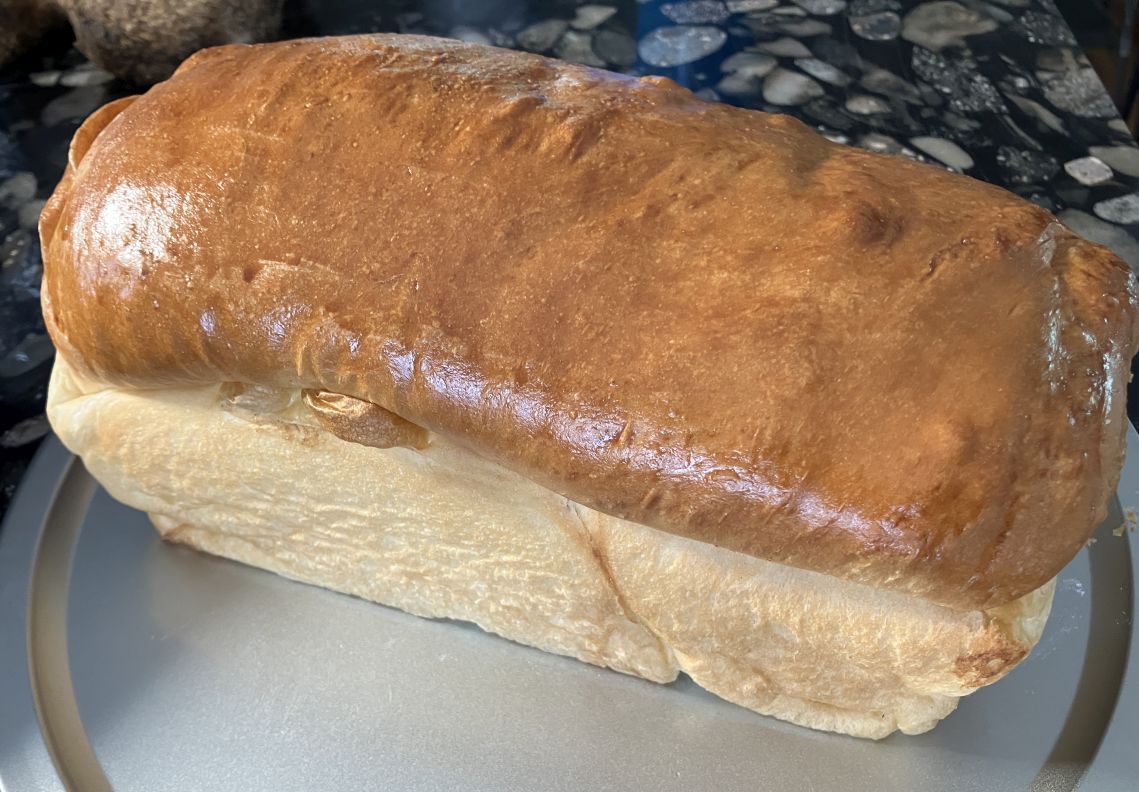
When the bread comes out of the oven, you can test it with a probe thermometer: if the interior of the bread is at 200° Fahrenheit or greater, it's done! Let it rest for about 30 minutes before removing it from the pan.